Saturday, August 10, 2013

Multi-CD Case

I have a lot of CDs that I burn, but I can never find a case for them.  They are stashed around the house in used envelopes, closed with rubber bands or just placed on a countertop, collecting dust.  To solve this problem of mine, I made a multi-CD case out of duct tape.

I first created the cover of the case, creating a duct tape rectangle whose length was a little more than double the diameter of a CD and whose height was a little more than the diameter.


For the CD holder, I made a square that whose side length was a little longer than the diameter of the CD.


Each side of the square can be used to hold CDs, so I made two strap-like things.  To make them, I took pieces three pieces of duct tape and folded them in half.  Two were the length of the side of the square, and another was the length of the base of the square.  I connected the three strips, and repeated the process to make two of them.


I taped each strap to a side of the square.


To join the CD holder to the cover, I taped the holder to the cover on both sides.


I made more CD holders so I could store more CDs in the case.  Each CD holder is a different color.
A blue CD holder underneath
View from above

The only slight downside to this CD case is that each CD holder is very thick, due to the amount of duct tape, and not a lot of CD holders can fit inside the case.  However, if I were to make the case cover longer in the beginning, I would be able to fit more CD holders in.

Thursday, July 18, 2013

Adding a Zipper

My weaved pencil case had loops and hooks to keep it closed.  I did not like this design, as it was aesthetically unappealing, and it was a little hard to get it closed every time.  I decided to attach a zipper to my pouch instead.

I cut the side walls a little bit so that the tops did not touch the top of the case itself.  This is not a necessary step; it only makes it easier to attach the zipper later on.

Side walls are shorter
When I bought the zipper, the package came with instructions on how to attach a zipper to clothes with an iron or a needle.  I promptly disregarded these instructions and threw them out, as they did not apply at all to attaching it to duct tape.  In order to attach the zipper to duct tape, the zipper first needs to have "handles" made from duct tape that make it easier to attach to the sides of the pencil case.  To make the "handles", I placed a piece of duct tape underneath the zipper.  The edge of the tape paralleled the zipper but did not touch it.

Length of the tape needs to match the length of the zipper
I folded the piece of tape over in half onto the other side to create the first "handle."  I repeated the process on the other side of the zipper to create the two "handles."
Folded piece of duct tape
Both "handles" added
To attach the zipper to the case, I split a piece of duct tape in half to create two long, thin strips.

Length of the tape needs to match the length of the case
I added one of the strips to the "handles" of the zipper, placing only half of the sticky side on the "handle."  I placed the zipper along the edge of the case in the inside and pressed down on the tape, securing it into place.

Make sure the zipper is not upside-down!
I repeated the process on the other side, but I undid the zipper first to separate the already attached side from the side I was about to attach.  Not only did this make the entire process easier, but I also was able to see where I placed the tape inside.

With the zipper completely attached, I thought I was done.  However, the zipper, because of the added duct tape "handles", was really wide and would flatten, exposing some sticky side of the tape.

Not done yet!
To fix this problem, I cut another strip of duct tape in half to make two long, thin strips.  I placed the case flat on the table and placed a strip of duct tape onto the edge of the case and onto the zipper.  By doing this, I eliminated the little crevice between the the zipper and wall.  I taped the other side up as well.

Problem solved!
With zipper completely attached, I tested it out.  I was very happy with the results.  The zipper is easy to use and looks better than the loops and hooks I had implemented before.

Tape the ends of the zipper in
To finish the case, all I had to do was tape the ends of the zipper in.  The zipper itself is only nine inches, a perfect length for the case, but the cloth ends hung out over the edge, as seen in the pictures.  Once I tape the ends in, the case looked awesome!

Monday, July 15, 2013

All-Purpose Pouch/Pencil Case/Clutch

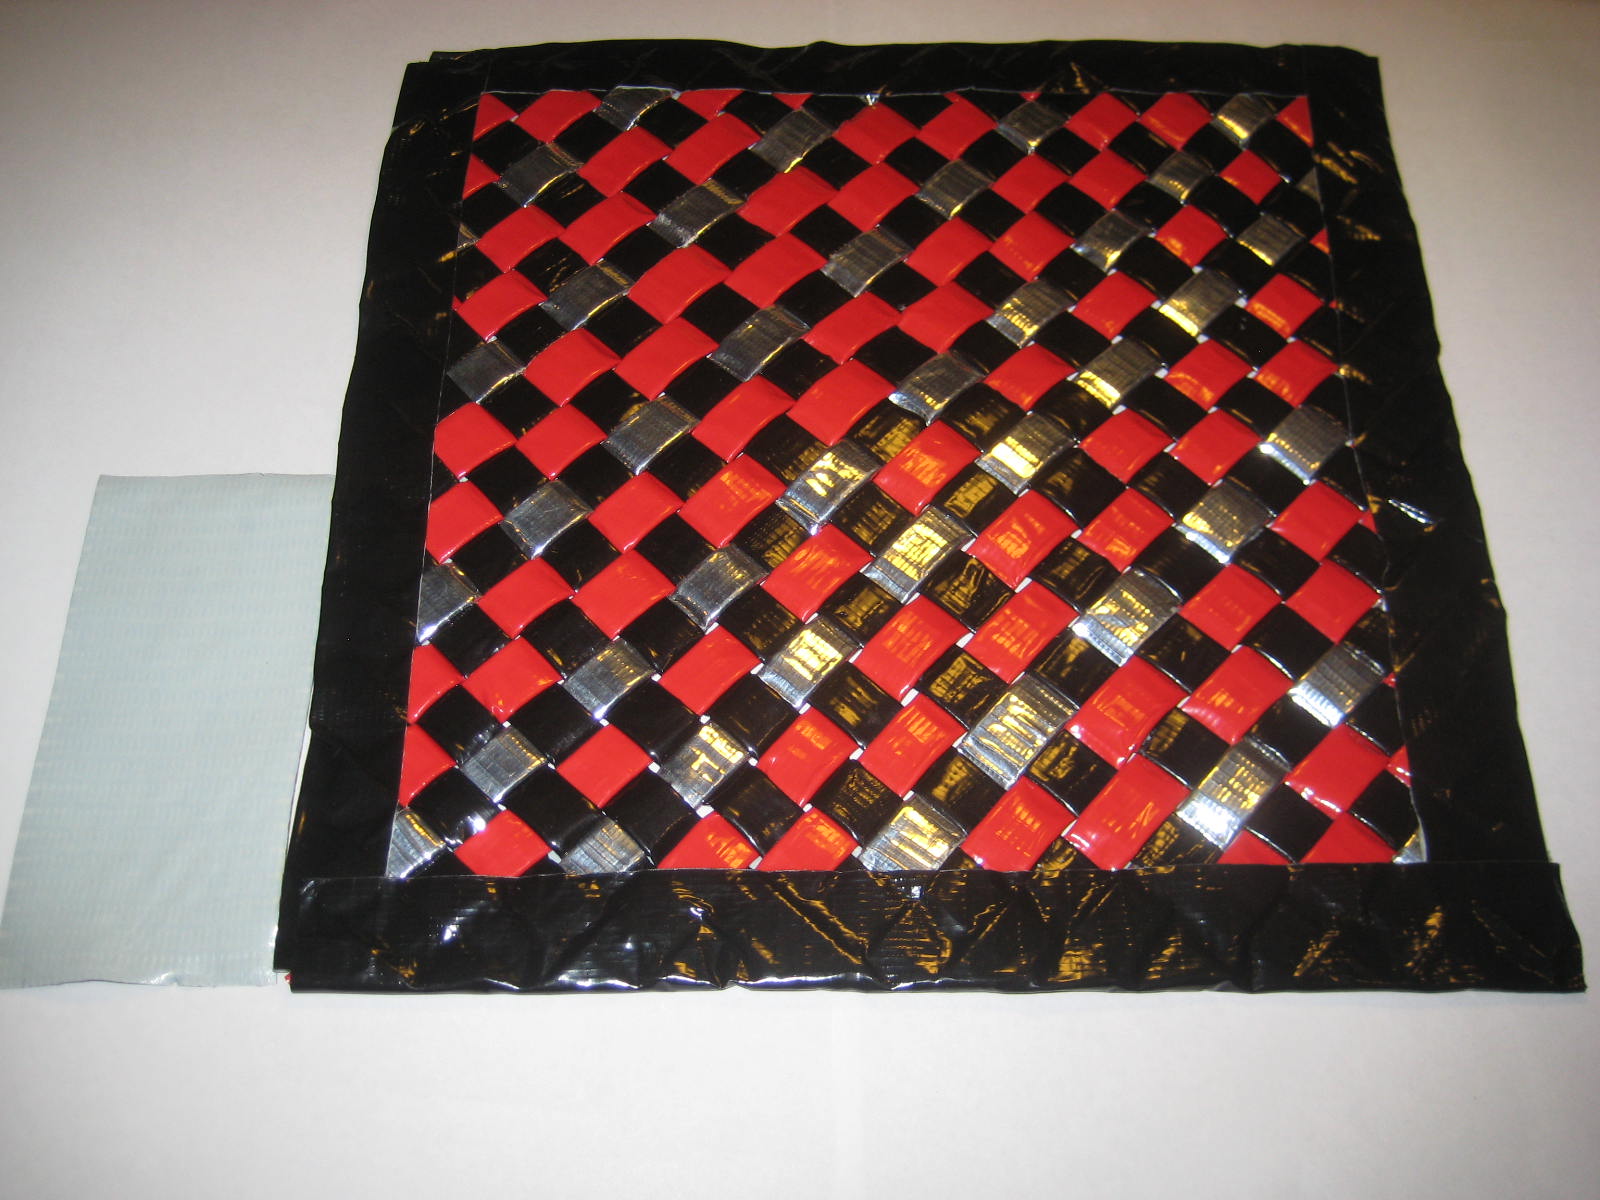
Using the weaved square, I made a simple pencil case that can be used as a pouch, container, clutch, or anything.  The case consists of the square folded in half, side walls to keep the contents from falling out, and two fasteners to keep it closed.

The side walls of the case are easy to make.  I made two rectangles that were a little less than half of the length of the side of the square.   Their width is around 1.5 times the width of a roll of duct tape.

The length of the sides cannot be more than half of the length of the side of the square
Two completed side walls
Before I connected the side walls to the square base, I folded them in half length-wise.  To connect the walls, I lined up the corners and then taped the side to the base.  I opened the flap and taped the other side to eliminate the stickiness showing.  I repeated the process with the other wall.
Connected to the base
Some sticky side is showing
Both side walls attached
The process for joining the side walls to the other side of the base is the same, but it is a little harder to tape the inside.  Thinking ahead, I attached pieces of tape to the not-yet-attached side of the walls.

Tape is underneath the side walls
I folded the side walls in half and had the sticky side of the tape showing so when I folded the base over, they would line up and stick together.  I did that for one side and then repeated the process for the other.

One side attached
Again, some of the sticky side of the tape was showing, so I taped it over in the same manner as I attached the side walls before.

Don't let that stickiness show!
The case is very spacious, but it does not stay closed on its own.  To keep it closed, I made two fasteners.  They consist of two loops and two "hooks".  The "hooks" are not really hooks but small duct tape balls taped to the case.

Case wide open
To make the hooks, I cut two pieces of duct tape and rolled them up.  I taped the ends to the case, each about 2.5 inches from the end.

Loops attached
To make the small duct tape balls, I crumpled up small pieces of duct tape and taped a long strip across each one.  The ends of the long strip keep the ball fastened on the case.  The pencil case is finished!

Final product
For instructions on adding a zipper instead, go here.

Monday, July 8, 2013

Coin Organizer for Wallet

One of the biggest problems that I have with a duct tape wallet is that the coins, when placed in the same pocket as the dollar bills, bunch together in one corner and create a huge bump.  In one of my previous wallets, I sought to solve this problem by creating a separate pocket for the coins on the right side of the wallet.  The opening was towards the spine of the wallet to prevent any coins from falling out of the wallet, but this only made getting the coins out that much harder.

My first attempt at solving the coin problem
When my friend Cora asked me to make her a wallet, it gave me an opportunity to try and solve the coin problem again.  This time, I decided to make a separate pocket for each type of coin.  I grouped the pennies and the dimes together because they were about the same size, and the nickels and quarters got their own pocket.  I then made three strips of duct tape that each had a height about the diameter of each type of coin.

Each coin has its own particular diameter
I then placed each strip on another piece of duct tape that was longer and taller than the strip so it could stick to the base of the wallet.

Each strip looked like this before it was attached to the wallet
Afterwards, each pocket was added to the wallet.  I tried to keep some space between the bottom of one pocket and the opening of the one below it so it would be easier to take the coins out.

The final wallet with card slots on one side and coin pockets on the other
The advantage of this coin arrangement in a wallet is that it is easy to find exact change.  One does not need to look through his or her entire collection of coins in the wallet, but instead just pull the dimes and pennies from the first pocket, take out nickels from the second, and retrieve quarters from the third. The wallet looks pretty cool too, with the alternating colors of teal and black.

With coins added
The one worry I have with this type of coin organizer is that the pennies and the dimes will fall out of the top if the wallet is held upside down.  However, upon testing, the coins only fell out if I banged the wallet against the table, which I doubt would happen in a pocket or purse.

Sunday, July 7, 2013

Pencil Case

While the first thing I made out of duct tape was a wallet in the fifth grade, I am most proud of my pencil case I made two years ago.  I still use it today, and even though it is getting worn out through 2 years of use, it is still in great condition.  The benefit of duct tape is that it is very easy to replace elements that are attached to the base of the case, contributing to the longevity of the case, as when something breaks, I can immediately fix it.

The pencil case is the inspiration for my other organization cases, such as the crochet hook case.  It is made of one big sheet of duct tape folded into fourths, with several features added throughout.

Front: Print duct tape makes the cover more interesting
Inside the pencil case, I included a place for my pens and marker, which are lined horizontally on the left side.  By organizing it this way, I can fit more pens on one side, and it is easier to quickly remove a pen even when the case is closed.  On the other side, I hold any notecards or hallway passes that I need with me anywhere I go.

Inside: One side to hold my pens, the other side a pocket
I do not normally use pens when writing anything down, but because I carry more pens than pencils, I decided to devote this area of my case to holding pens.  I would place my pencils here, but they do not fit nicely into the slots because the ends of the pencils would stick out.  The clips on pens and pencils are at differing heights.

Only pens are located in this area
I needed someplace to put all my notes and various small sheets of paper, so the other side of the case has a big orange pocket.  I made it in the same fashion I made the base of the case, but at a smaller scale.  The size is perfect to hold index cards, small reminders, and even money.

Big orange pocket holds everything
Not everything that I wanted to have in my case would fit on the inside of the case, so I utilized the big pocket made from folding the base into fourths.  Inside, I hold my pencils, eraser, and scissors.  On the left side, I created three slots to place my two pencils and the one pen that did not fit nicely with the other pens.  By placing the items in this manner, the case is also flat, with no bumps sticking out where two pencils or pens overlap.

In the pocket: pencils, eraser, and scissors
Another advantage of having a duct tape pencil case is that I can personalize it any way I want.  While I chose to have a black base, I have made a case with my friend out of the blue and purple tie-dye duct tape.

Friday, July 5, 2013

The Essential Wallet

The duct tape wallet is the stepping stone for all duct tape fanatics.  Once one can make a wallet, he or she has learned all the basics for making things out of duct tape.  The base of the wallet can be used in any other creation, such as in the crochet hook case.  Today, I made a basic wallet for Cora, my friend.  While I have used alternating color stripes here, most of my wallets are a single color.

To create the base, I laid strips of duct tape on each other, with the sticky sides touching each other.  A strip should contact one-half of the previous strip.  I repeated this process until the base was the right length.
Half is attached to the previous strip
Final base of the wallet
After I finished the base, I taped the left and right sides and then folded it into fourths.  I taped again the edges, both on the inside and the outside.  The fortified edges prevent any chance of money falling out.

The cover of the wallet
Right now, the wallet is empty, containing only a place to put dollar bills.  I will be adding card slots and a coin pocket to the inside soon.

Tuesday, June 25, 2013

Crochet Hook Case

My friend, an avid crocheter, requested a crochet case for her various hooks.  A case would help her organize her hooks and make it easier to transport them in her backpack.  She picked out the colors, and I created her crochet hook case.

To make this case, my friend chose the electric blue, tranquil teal, and penguin duct tape.  To create the base of the case, I alternated between the electric blue and the penguin duct tape.

Alternating penguin and electric blue stripes
The case needed to be able to store two basic types of crochet needles: a Tunisian crochet hook and many regular length hooks.  I stored the longer Tunisian hook along the edge of the case and lined up the other regular hooks below and perpendicular to the Tunisian hook.  To keep the hooks in the case, I used tranquil teal duct tape.

The Tunisian hook lies along the top; three regular hooks are below
A pocket lies on the other side of the case and can be used to store design patterns, short pieces of yarn from crochet creations, and other necessary items.  I used the tranquil teal duct tape again.  The crochet hook case itself is an entire pocket also. I folded the big sheet of duct tape in fourths and taped the edges to create a big pocket for scissors in between the inside and the outside of the case.

Big storage pocket on the other side
This crochet hook case will serve my friend well; it will keep all of her hooks organized, clean, and all in the same spot.